Good Morning Everybody,

That said, I've got some cool adventures to share with you today. We recently returned from another month-long trip to South Africa and Botswana. These were two safaris that were canceled in 2020 because of the pandemic but we finally were able to reschedule them this year.
.jpeg)
Botswana - the Cheetah Capital of the World.

Just look at a few of the photos below – the first photos are LaDawn‘s photographs.
By the way, she does a great job with her Sony RX 10 Mark 4.


This year I was shooting a new Canon EOS R5 which is a very cool camera to shoot with. Let’s take a look at the first photograph below. It’s a photograph of the cheetah brothers, yes they are indeed brothers. Kind of like teenagers as far as age goes. This is a rare thing to see because the mother raised five cheetahs and they all lived to adulthood. Because of the wildlife dynamics in Botswana, this is pretty much a rarity..jpg)
Very quickly, I upgraded my Canon 7D Mark II to the new Canon EOS R5 just about a year and a half ago. This is the first time I really had a chance to put it through its paces. And the results emphasize just how good this camera is. I prefer the much faster shutter speed (20fps), the lower light sensitivity, and the quickness of the focus. Here are a few more of my images with the EOS R5.


I know this is a little "gross" but we actually witnessed the leopard catching this warthog and then proceeded to watch him carry it up into the tree the night before - way cool! The first photo above is of the leopard leaving the tree a few days after he finished his lunch.

And a photo of our entire Safari group including guides - we all had a great week!
On To South Africa... Where the Action Was
Our trip to South Africa represented our fourth Safari to that part of the African continent. We have been three times to Thakadu and we love the wonderful adventure in the wild, the unbelievable wildlife we see, and we love all the folks at the lodge – some of the friendliest on the planet earth!.
Once again our safari to South Africa did not disappoint. People ask if one safari location is better than the other? My answer is always "that each and every safari is different and special in its own way". That could be in the animals that you see, the activities that the animals are engaged in, or just the quantity of animals you may encounter. Here is one of my favorite images which LaDawn took on her Sony RX10 Mk 4. She caught the giraffes just right for this fun photo.
.jpg)
And a few more...
.jpg)
.jpg)
Pretty cool images, don't you think?
The highlight of our South Africa trip this year was the fact that we saw two male lions and four female lions hunting for prey. The prey turned out to be the poor lowly impala - the savanna smorgasbord for big cats everywhere in Africa. We found the lions on the prowl and followed them for several minutes monitoring their hunting behavior. It was only a few minutes later when all "heck" broke loose.
We were the first ones on the scene to see that the female lion had taken down the impala her jaws were around the impala‘s neck and its demise was a foregone conclusion.

Within a minute or two a male lion shows up and chases the female lion away saying he was going to take over {in lion talk}. The impala, which we thought was dead or near dying quickly springs to it's feet and took off. This is when all "heck" broke loose a second time.


I captured a great series of photographs showing the chase and capture of the impala along with the battle between the male and the female lion. Above are just a few of the images.
The action was going on for so long, thankfully something in my "brain" said to start the video rolling on my camera - which I did.
This YouTube video below shows the height of the action and really captures the excitement of the moment. Our tour guide shared that it was a very rare sighting and only about 1% of visitors on safaris ever see anything like what we witnessed.
When we got back to camp at the end of the day we all felt mixed feelings about this special event that we had witnessed. Oh, the rest of the story... the impala eventually got away! Yep, it’s true the impala got away, all the other lions were very ticked off with the male lion who let their "lunch" slip through his claws. The whole thing was really exciting to see.
We had a terrific group of folks on this safari which made it totally enjoyable for everyone that was part of our Safari adventure.

On to Capetown and Wine Tasting
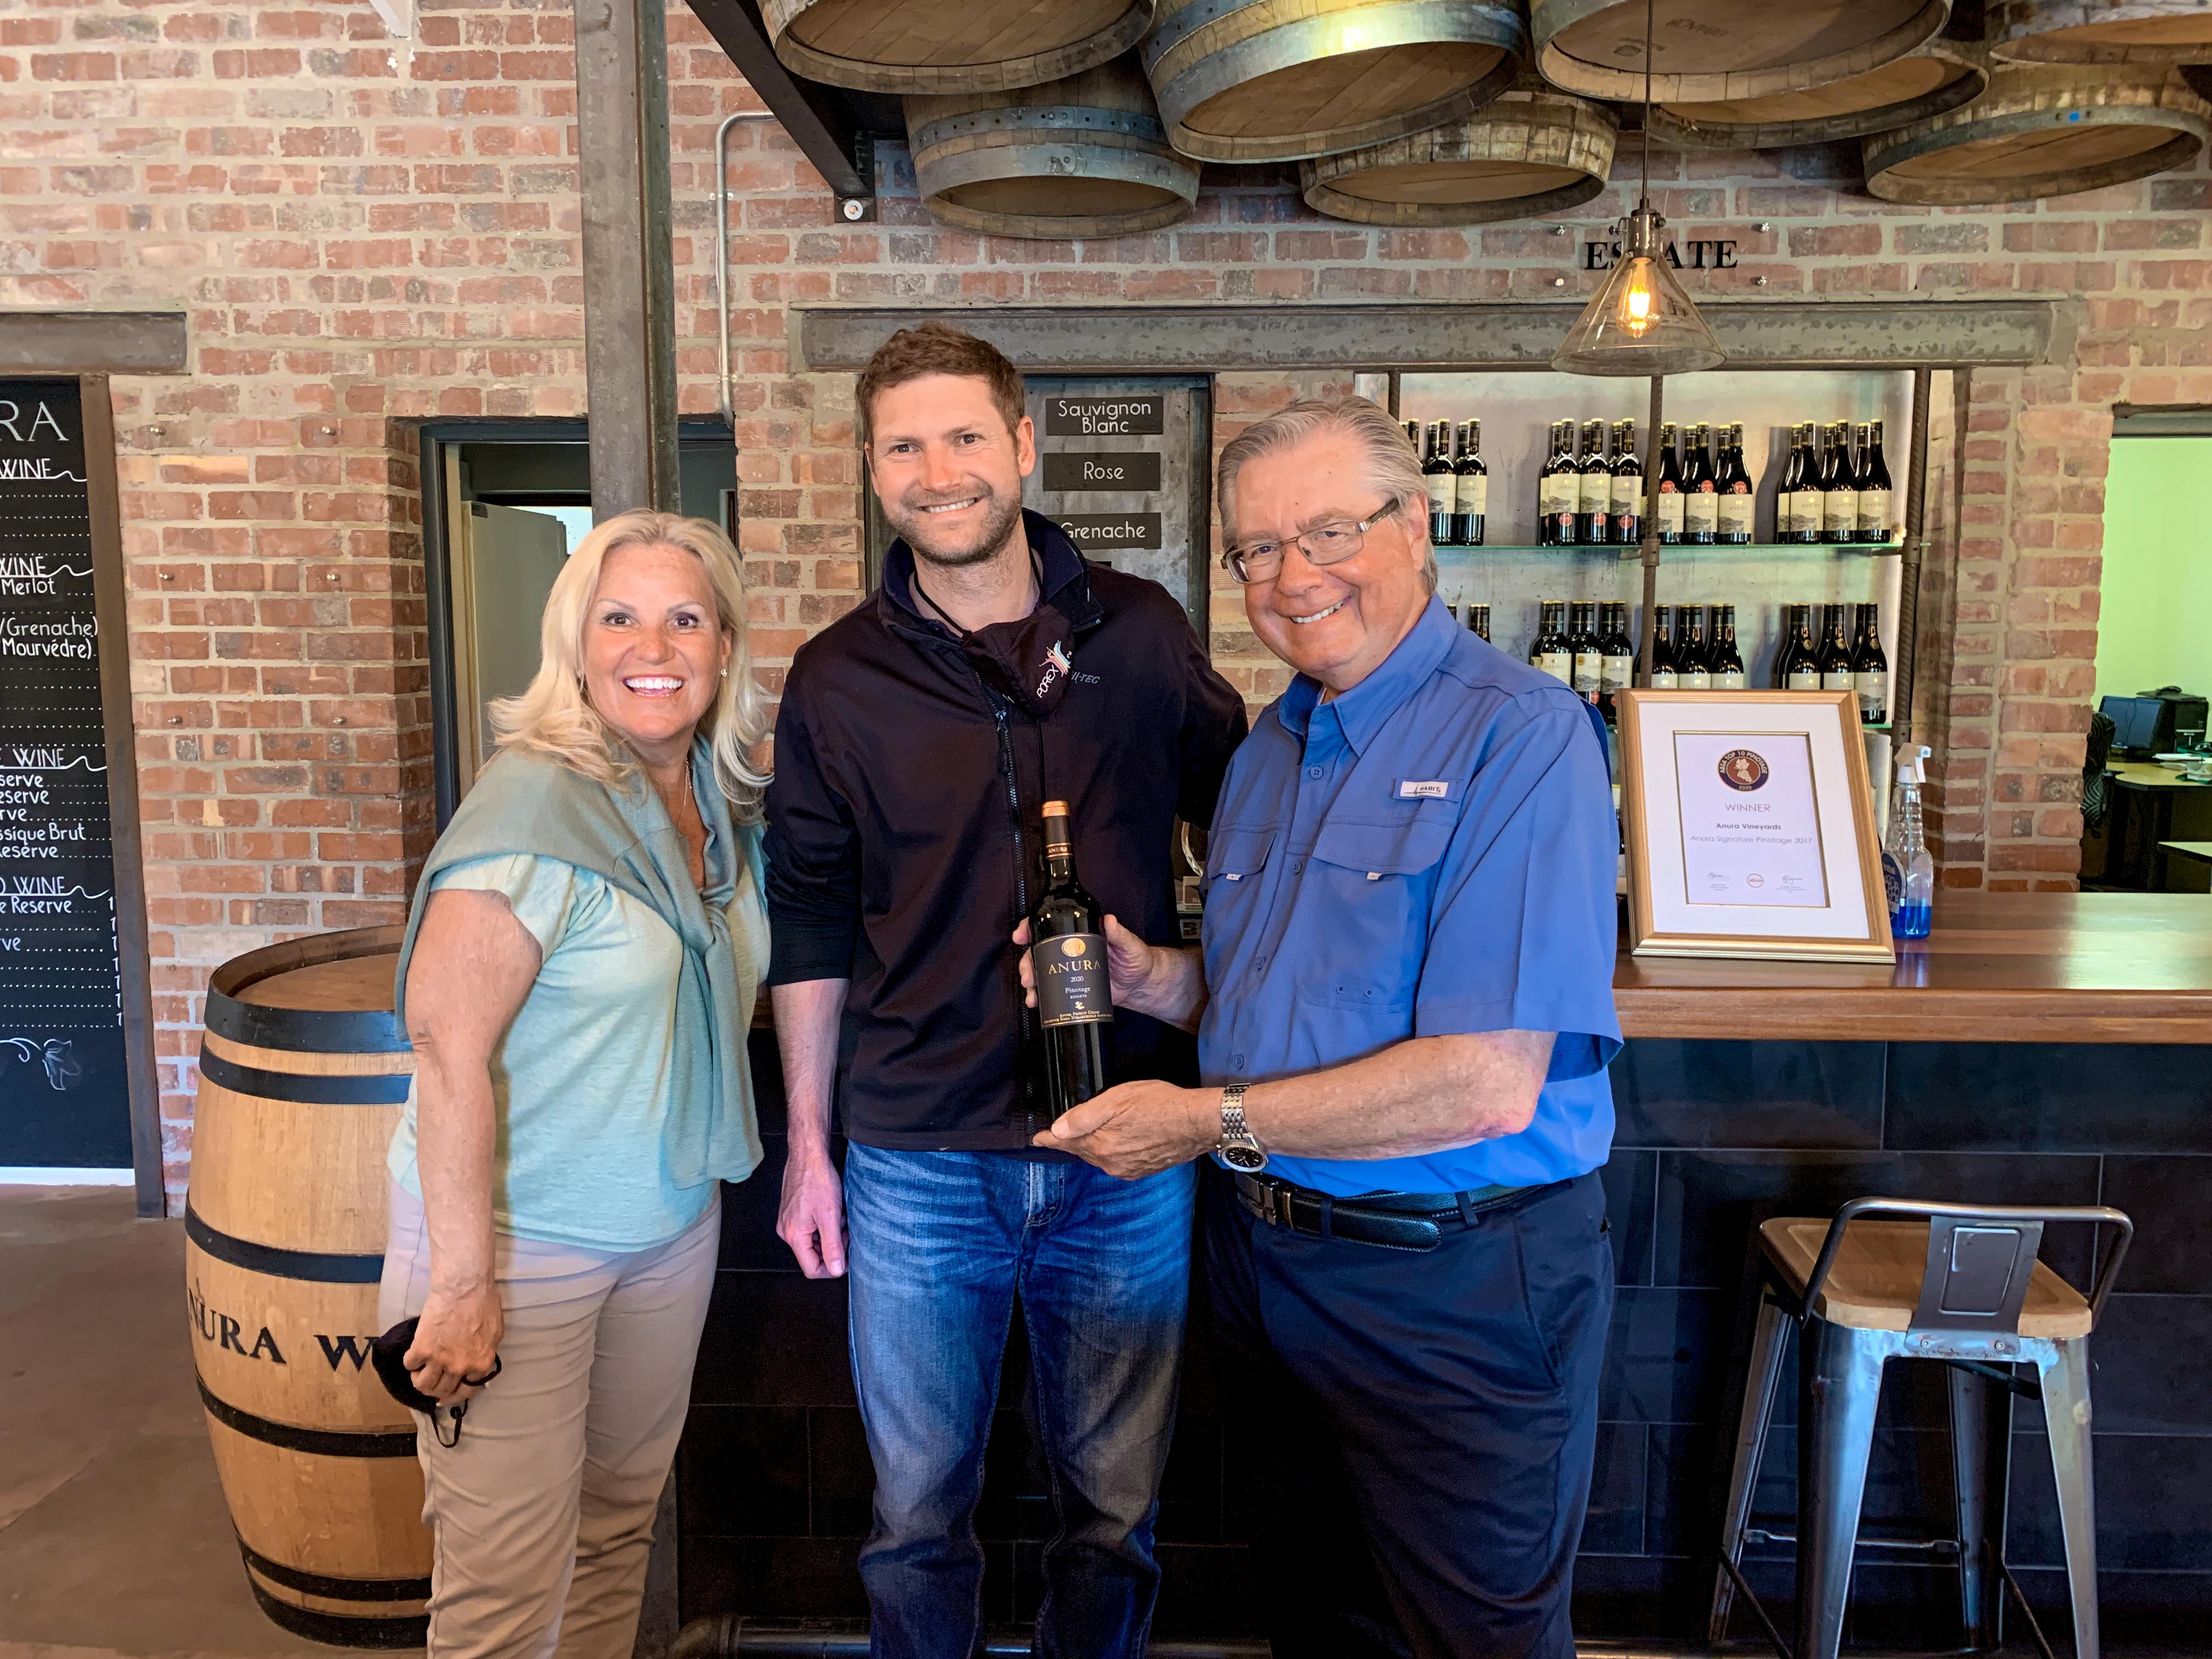
After our trip to South Africa, we headed to Cape Town and spent a week there sampling the wonderful South African wines. That week was an easy, relaxing week after our too exciting and fairly strenuous safaris. The image below is of LaDawn and I with the winemaker at Anura Wineries - one of our favorite places.
___________________________________________________________________
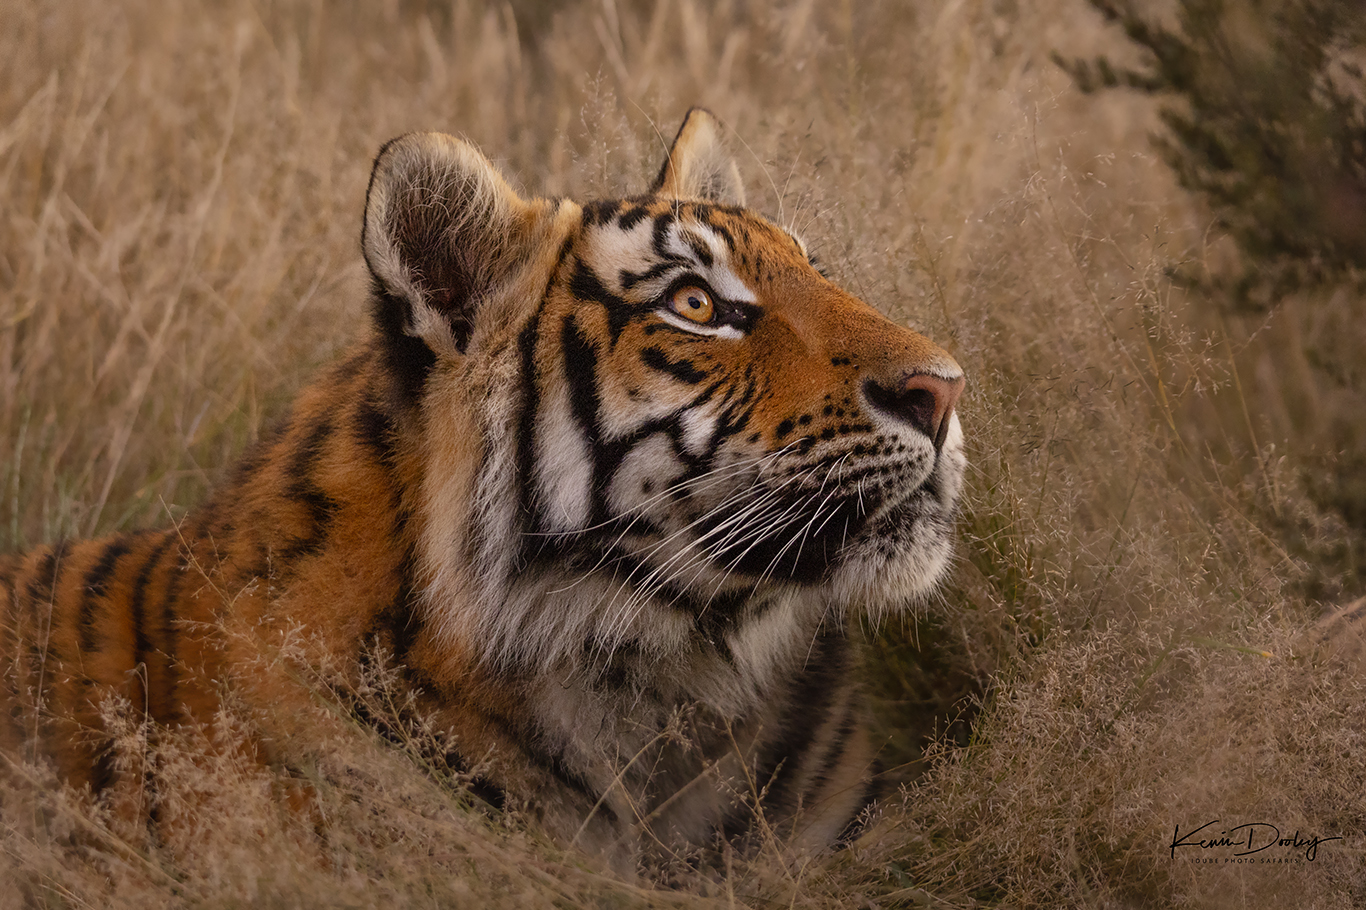
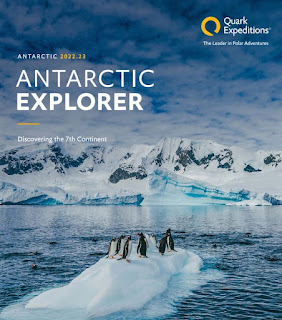
Hey gang, that’s about it for me today but stay tuned I’ll see if I can get a few more of the Safari photographs up for you to enjoy. Oh, and don't forget to check out my post below for three very exciting adventures we have planned for next year - Bengal tigers in India, Jaguars in Brazil, and Antarctica in 2024. Hope you can join us!
Adios, David